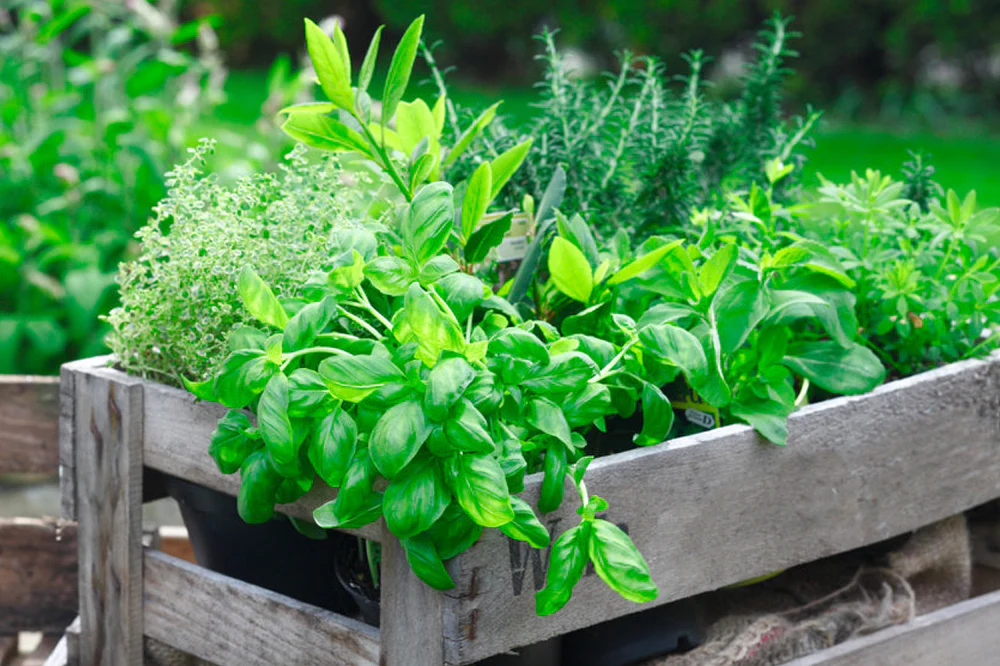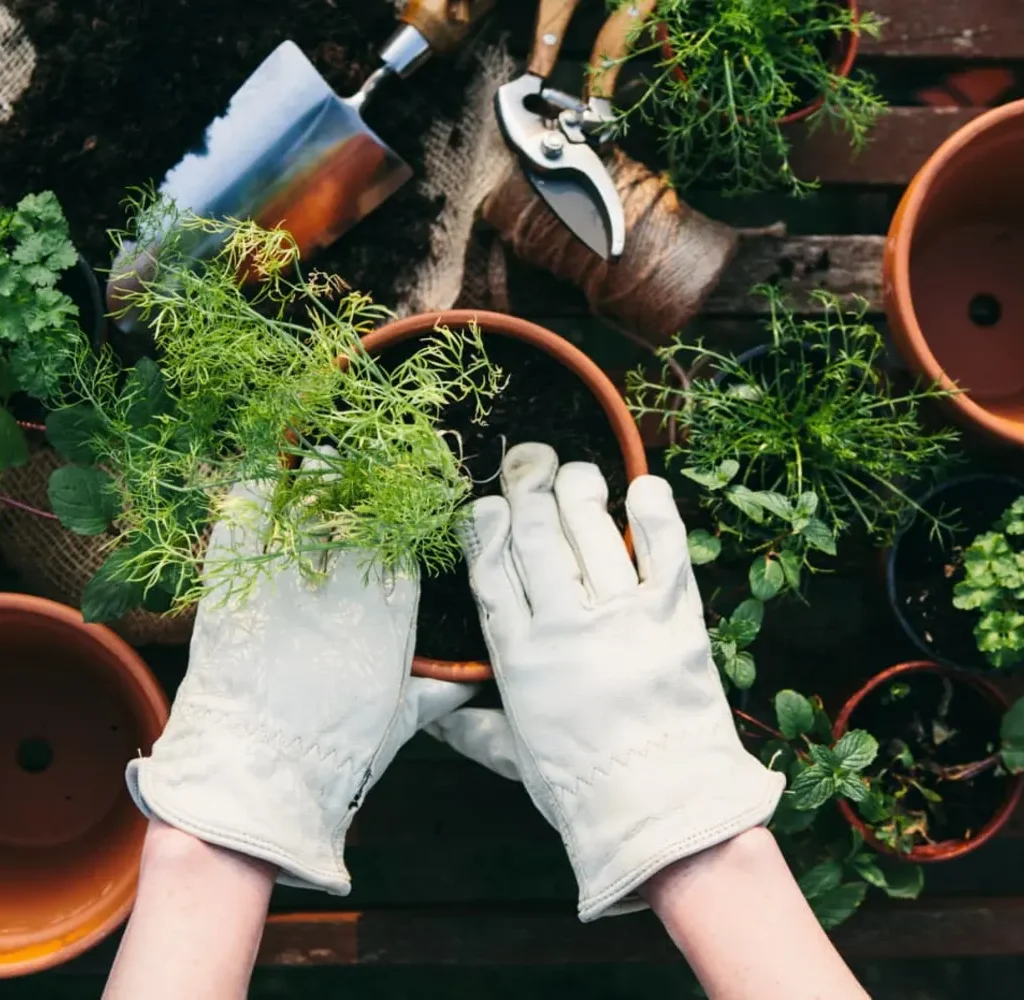
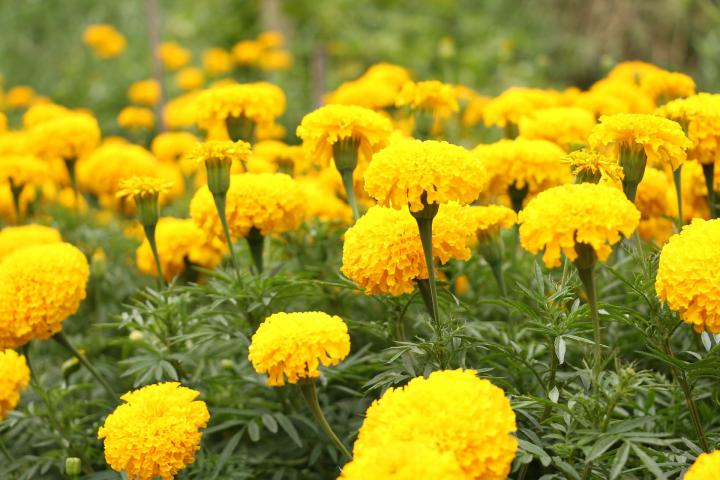
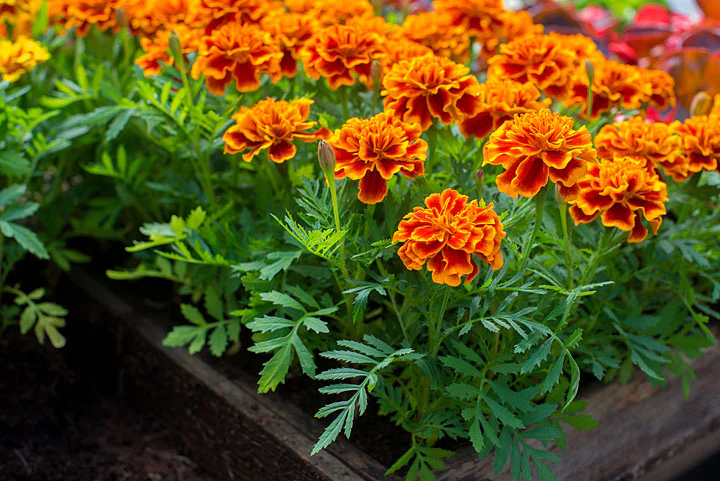
Marigolds (Tagetes spp.) are among the most popular flowers for home gardens. Known for their vibrant shades of yellow, orange, and red, these cheerful flowers bring brightness and life to any landscape. Beyond their visual appeal, marigolds are easy to grow, low-maintenance, and highly versatile. They are also valued for their natural pest-repelling properties, making them excellent companion plants.
This step-by-step guide provides detailed instructions for planting and maintaining marigolds, ensuring a garden full of rich colors and healthy blooms. Whether you are a beginner or an experienced gardener, following these steps will help you achieve marigold-filled, eye-catching gardens.
Why Choose Marigolds for Your Garden?
Marigolds are favored for several reasons:
- Vibrant Colors: Their bright orange, yellow, and red flowers make a garden instantly more lively.
- Long Blooming Period: Marigolds bloom from early summer until the first frost.
- Easy to Grow: Suitable for beginners, requiring minimal care.
- Pest Repellent: The flowers and roots repel nematodes, aphids, and other common garden pests.
- Versatile Uses: Ideal for borders, flower beds, containers, and companion planting.
Step 1: Selecting the Right Variety

Marigolds come in various types, each suited to different gardening purposes:
- French Marigolds (Tagetes patula): Compact, bushy plants with small, densely packed flowers; ideal for borders and containers.
- African Marigolds (Tagetes erecta): Tall, robust plants with large blooms; perfect for flower beds and mass planting.
- Signet Marigolds (Tagetes tenuifolia): Delicate foliage and small flowers; edible varieties add a culinary touch.
Tip: Choose varieties based on your garden space, desired height, and bloom size. Mixing varieties can create dynamic color and texture.
Step 2: Preparing the Soil

Marigolds thrive in well-draining, moderately fertile soil. Proper soil preparation is key to robust growth:
- Loosen the Soil: Dig or till the soil to a depth of 6–8 inches to allow roots to spread easily.
- Amend if Needed: Add compost or organic matter to improve fertility and soil structure.
- Check pH: Marigolds prefer a slightly acidic to neutral pH (6.0–7.0).
- Ensure Drainage: Avoid waterlogged soil, which can lead to root rot.
Tip: Raised beds or containers with drainage holes are excellent for improving soil aeration and preventing waterlogging.
Step 3: Sowing Seeds or Planting Seedlings
Marigolds can be grown from seeds or nursery-bought seedlings.
Planting from Seeds:
- Start seeds indoors 6–8 weeks before the last frost.
- Use seed trays filled with light, well-draining soil.
- Sow seeds 1/4 inch deep and cover lightly with soil.
- Keep the soil consistently moist.
- Seeds usually germinate within 5–14 days, depending on the variety.
Transplanting Seedlings:
- When seedlings have 2–3 true leaves, they are ready for transplanting.
- Harden off seedlings by gradually exposing them to outdoor conditions for 5–7 days.
- Space plants 6–12 inches apart for French marigolds and 12–18 inches for African marigolds.
Tip: Plant in rows or clusters for a visually striking effect.
Step 4: Providing Sunlight

Marigolds thrive in full sun:
- Ensure at least 6 hours of direct sunlight daily.
- In hot climates, provide light afternoon shade to prevent leaf scorching.
Tip: Adequate sunlight promotes compact growth and abundant flowers.
Step 5: Watering and Mulching
Marigolds prefer evenly moist soil but can tolerate short dry periods once established:
- Water plants at the base, avoiding wetting foliage to prevent fungal diseases.
- Deep, infrequent watering encourages strong root development.
- Mulch around plants with organic material or small gravel to retain soil moisture, regulate temperature, and suppress weeds.
Tip: Avoid overwatering, as it can lead to root rot and fungal infections.
Step 6: Fertilization
Marigolds do not require heavy fertilization:
- Apply a balanced, slow-release fertilizer at planting.
- During the growing season, side-dress with compost or a low-nitrogen fertilizer to encourage blooming rather than leafy growth.
Tip: Excess nitrogen can produce lush foliage at the expense of flowers.
Step 7: Deadheading and Pruning
To maintain continuous blooms:
- Remove spent flowers regularly, a process known as deadheading.
- Trim any damaged or yellowing leaves to maintain plant health.
- For taller varieties, support stems if needed to prevent bending or breakage.
Tip: Deadheading encourages more flower production and extends the blooming period.
Step 8: Controlling Pests and Diseases
Marigolds are generally pest-resistant but can face occasional issues:
- Aphids: Spray with insecticidal soap or water.
- Spider Mites: Keep soil moist and provide good air circulation.
- Fungal Diseases: Ensure proper spacing and avoid overhead watering.
- Nematodes: Marigolds’ roots can help repel harmful nematodes naturally, making them excellent companion plants.
Tip: Companion planting with vegetables like tomatoes and peppers helps protect crops from pests.
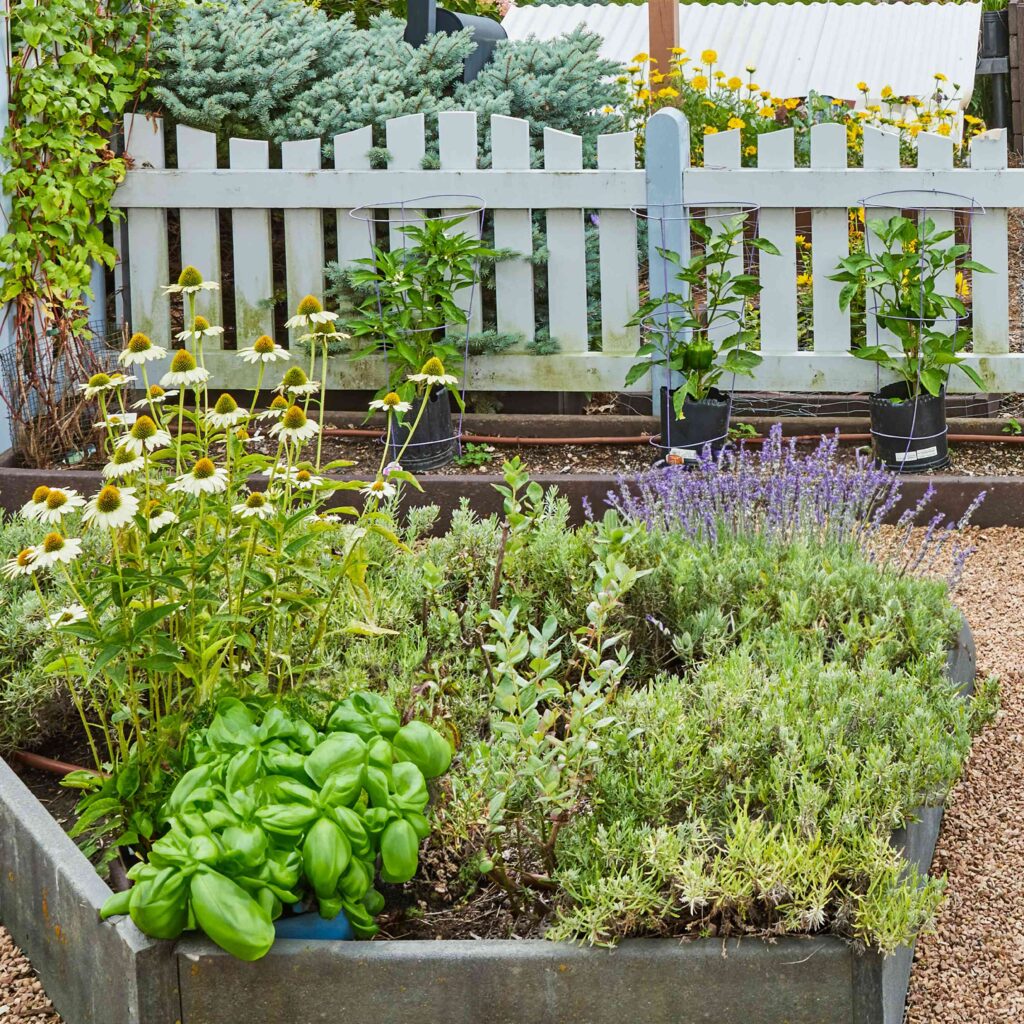
Step 9: Companion Planting
Marigolds improve the health of your garden by repelling pests and attracting beneficial insects:
- Vegetable Gardens: Plant alongside tomatoes, peppers, and cucumbers to reduce aphids and nematodes.
- Flower Gardens: Mix with zinnias, petunias, and salvias for vibrant color contrasts.
- Pollinator Gardens: Attract bees, butterflies, and other pollinators.
Step 10: Harvesting and Enjoying Marigolds
Marigolds can be harvested for decorative or practical uses:
- Cut flowers in the morning when blooms are fresh.
- Use for floral arrangements, garden decorations, or drying for crafts.
- Some varieties are edible, adding a splash of color to salads or desserts.
Tip: Frequent harvesting and deadheading encourage longer-lasting blooms throughout the season.
Seasonal Considerations
- Spring Planting: Ensures continuous blooms through summer and fall.
- Fall Planting: In warmer climates, late-season planting can produce flowers until frost.
- Climate Adaptation: In cooler regions, consider starting seeds indoors or using row covers for protection.
Final Thoughts
Marigolds are a gardener’s delight, combining beauty, fragrance, and practical benefits. By following these step-by-step planting guidelines, gardeners can achieve vibrant, colorful gardens that thrive throughout the growing season.
The keys to success include:
- Selecting the right variety for your garden and climate.
- Preparing fertile, well-draining soil.
- Providing adequate sunlight, water, and fertilization.
- Deadheading and pruning for continuous blooms.
- Utilizing marigolds for pest control and companion planting.
With proper care and attention, marigolds can transform ordinary garden spaces into spectacular displays of color, attract pollinators, and protect other plants naturally. Whether planted in beds, borders, or containers, marigolds offer a reliable and rewarding flowering experience for gardeners of all skill levels.
Marigolds are more than just decorative—they are practical, resilient, and a joy to grow, making them an essential choice for any home garden.